
A usable framework for designers and estates teams
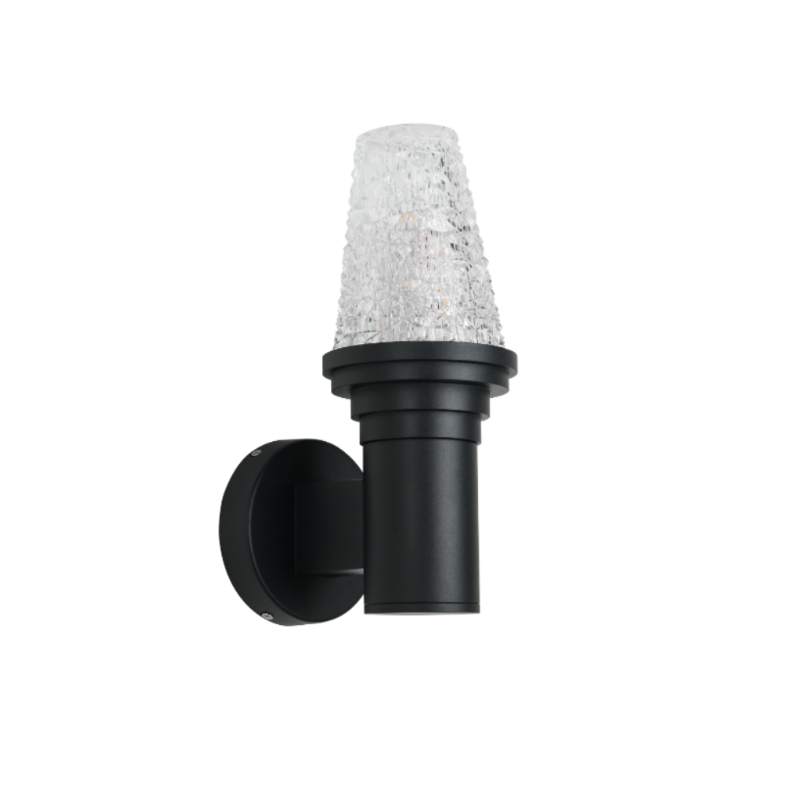
When tackling exterior lighting for piers, promenades or private quays, a deliberate framework keeps decisions pragmatic rather than ornamental. Start by framing objectives — safety, wayfinding, ambience and energy efficiency — then map each objective to measurable controls. That’s where targeted products such as waterproof outdoor wall lights enter the conversation: they solve ingress concerns and provide reliable lumen output so you can focus on glare control and visual comfort. This framework-led approach prevents last-minute swaps and avoids common incompatibilities at the commissioning stage.
Step 1 — Clarify visual comfort targets
Define what “comfortable” looks like for your site in quantitative terms. Practical metrics include maintained illuminance (lux), uniformity ratio and acceptable glare thresholds. Use luminance-based thinking when people’s eyes are scanning across wet stone, railings and signage — reflected glare off wet surfaces is often the unseen culprit. Specify correlated colour temperature (CCT) to match the precinct’s character: warmer CCTs for heritage façades, cooler for security-focused zones. These early choices steer fixture selection and aiming strategy.
Step 2 — Select fixtures and mountings that support control
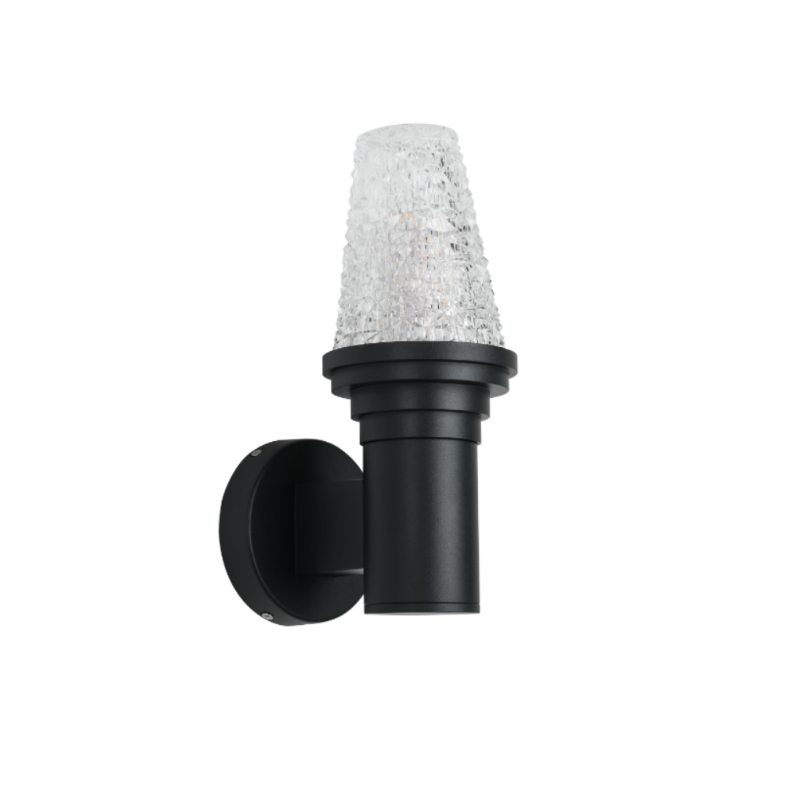
Pier-mount or pier-head fixtures need to combine robust ingress protection, optical control and mounting flexibility. Prioritise devices with defined beam angles and cut-off optics so light is directed where needed; that reduces skyglow and neighbour complaints. Specify an appropriate IP rating—IP65 is the de facto standard for wet, salt-spray environments (see IEC 60529)—and consider products listed as an ip65 outdoor wall lamp for sidewall or pier-cap mounting. Also check the LED driver dimming profile if you plan to use part-night dimming or adaptive controls.
Step 3 — Layout, aim and shielding to minimise glare
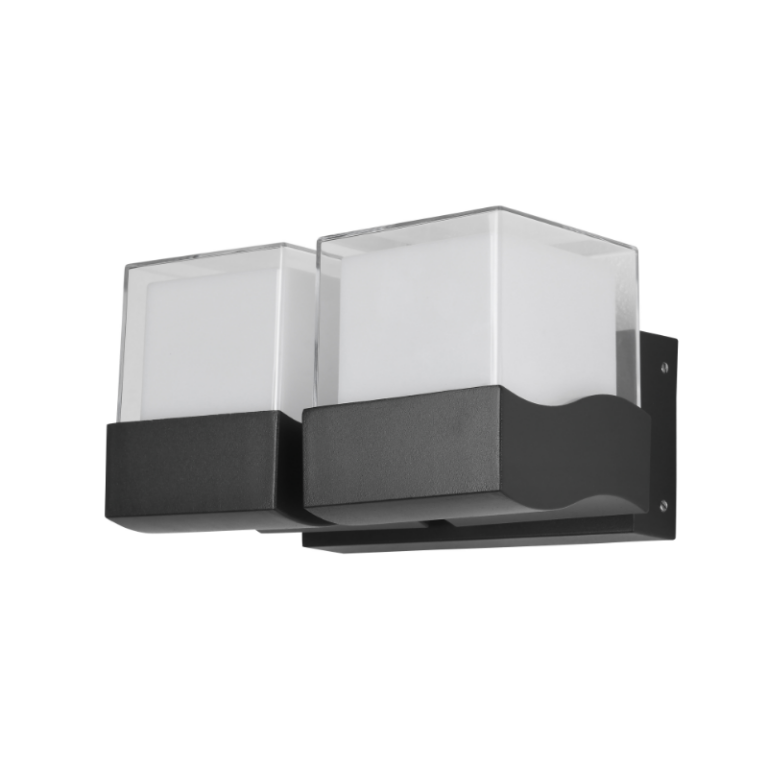
Good layout is geometry first: place fixtures so beam overlap achieves uniformity without creating bright hotspots. Aim lamps low and use shielded optics to keep direct view of the LED out of pedestrian sightlines—this simple tactic beats brute force lumen increases every time. Consider louvres or full cut-off housings where benches or viewpoints are close to the light source — they work quietly and effectively. – Small aim adjustments on-site often yield the largest perceived improvement; don’t underestimate time spent with a hand-held meter and a colleague acting as a passing pedestrian.
Common mistakes and how to avoid them
Avoid these recurring errors: over-specified lumen outputs that cause disability glare; mismatched CCTs between new and existing lamps; and ignoring maintenance access, which leads to a dim, uneven installation after a few seasons. A rushed spec often skips real-world mock-ups — insist on a temporary install of a sample head to validate aim and colour before committing to large orders. That early validation reduces rework and keeps schedules on track.
Validate performance and document outcomes
Measure to prove success. Use illuminance meters and capture IES files from your chosen fixtures to run simulations before purchase and to compare predicted vs actual post-install readings. Municipal LED retrofit programmes across several UK cities have reported energy reductions commonly between 40–60% after switching from legacy street lanterns to well-specified LEDs — a useful benchmark when discussing payback with finance. Record the final aiming sheets, maintenance intervals and lamp IDs so future teams can reproduce the design intent.
Advisory — three golden rules when choosing pier-mount and exterior solutions
1) Control before quantity: choose optics and mounting that limit direct view of the LED; lower lumen counts well-directed will almost always beat brighter, unshielded fixtures. 2) Specify for the environment: always require IP65 or higher for salt-exposed piers and confirm corrosion-resistant finishes and service access. 3) Demand on-site validation: require a sample install and measured lux/uniformity reports before full procurement — it saves months of disputes and extra costs.
When those three rules are observed the design naturally aligns with operational reality, and that’s where Keyida’s product range and documentation prove helpful — their guidance on ingress protection and optical options makes specification straightforward. Keyida. —