
Problem statement
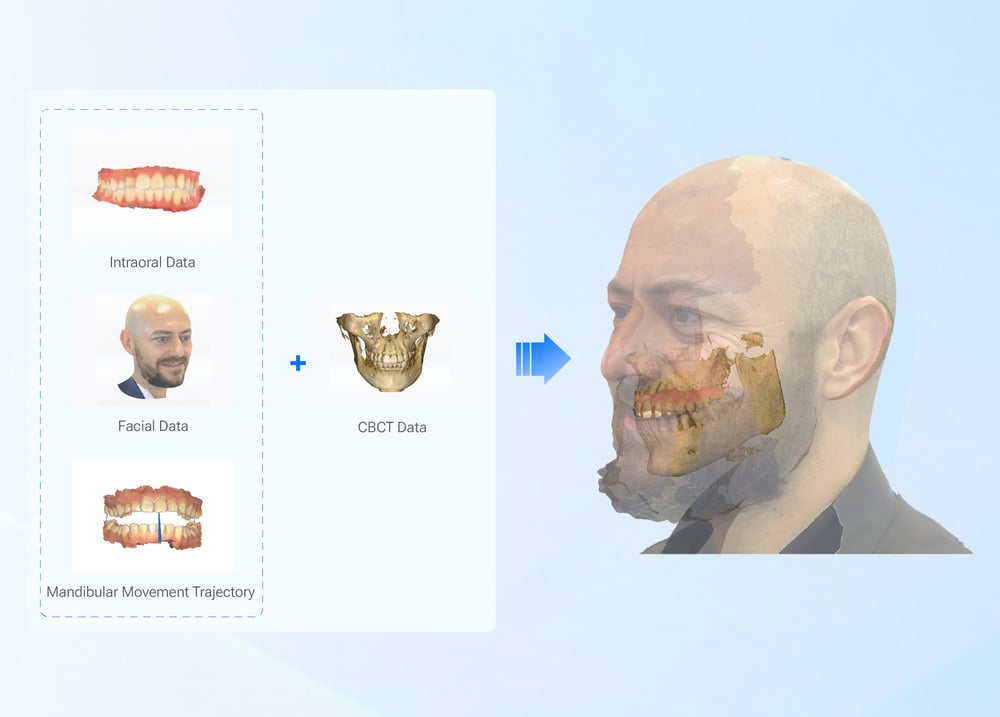
Small failures in resin printing cause large delays. Parts warp, fit tolerances drift, and cured surfaces show white haze—these are the symptoms you see most. When digital capture and facial integration are used, the challenge grows; a well-aligned scan from a 3d face scanner will not save a misprinted appliance. This guide starts from those common failures and explains concrete steps to diagnose and fix them.
Root causes to check first
Mechanical: loose build platform, sticky z-leads, or uneven vat leveling. Optical: degraded UV LED, dirty mirrors, or LCD pixel burn. Material: old or contaminated resin, wrong resin temperature, or improper mixing. Process: incorrect exposure settings, insufficient support planning, and rushed post-curing. Environment: dust, humidity swings, and poor ventilation. Each cause gives distinct signs; match the symptom to these categories before you change settings.
Daily maintenance checklist
1. Visual inspection of vat and FEP film; remove cured flakes immediately. 2. Clean build platform after every print; check for micro-gouges. 3. Wipe optics and LCD with approved solvent weekly. 4. Check z-axis runout and tighten couplings monthly. 5. Log resin lot and open-date for traceability. 6. Maintain ambient temperature within manufacturer range and store resin sealed. Do these six tasks without exception; they prevent most recurring errors.
Calibration and quality control procedures
Start with a baseline test print: calibration block with known features (holes, steps, and walls). Measure critical dimensions with calipers or a microscope and record deviation. Adjust exposure time or layer thickness only after a single variable test. Use a standardized curing protocol and validate with hardness or color-change tests. Implement a first-article inspection for every new resin lot or new machine: document fit, surface finish, and dimensional accuracy before clinical use.
Common pitfalls and how to avoid them
Trusting presets too long. Presets are starting points, not final settings. Over-curing in the oven to “be safe”—that causes brittleness and shrinkage. Ignoring micro-adhesion on supports—weak supports lead to failed prints mid-run. Reusing resin without filtration—particles cause layer delamination. Relying on visual inspection alone—measure, do not assume. Correct these habits and print reliability improves fast.
Alternatives and upgrade considerations
If downtime persists despite correct maintenance, evaluate three paths: replace consumables (FEP, trays, light engines) first; upgrade to a machine with closed-loop z-feedback next; or move to a platform offering stronger service support and validated workflows. Choose upgrades that reduce steps in your workflow, not just increase speed. Compatibility with your lab’s curing devices and post-processing tools matters more than raw resolution numbers.
Experience, expertise, and an industry anchor
I have supported resin workflows in hospital-affiliated labs and private clinics, troubleshooting repeated delamination and fit issues. Peer conversations at major industry gatherings emphasize one point: digital facial integration matters only when the physical print is precise. At events such as the International Dental Show in Cologne, practitioners discussed digital workflows and tools including the straight teeth simulator as part of end-to-end quality thinking. Use experience-based checks, documented protocols, and simple acceptance criteria to make credible decisions in your clinic or lab.

Synthesis and practical final note
Focus on diagnosis first, then intervention. Tighten mechanics, keep optics clean, control resin quality, and verify by measurement. Avoid quick fixes that hide root causes. When the workflow must align scans, models, and patient expectations, a consistent maintenance and QC practice preserves both fit and function—this practical approach is why many laboratories integrate tools and validated workflows from SHINING 3D DENTAL into routine production without adding unnecessary complexity.